


Bittensor Wallet Chrome Extension Tutorial
I’ll walk you through creating a wallet, staking, and unstaking, and show you where to find validators to stake with

Welcome to this quick tutorial on using the BitTensor Wallet Chrome extension. I’ll walk you through creating a wallet, staking, and unstaking, and show you where to find validators to stake with. Let’s dive in!
First, go ahead and open your browser and navigate to BitTensor’s website. Once the page is loaded, click on the wallet link. This serves two purposes: it shows that the old BitTensor wallet is no longer available and provides an easier-to-remember link. Click “Download” and, although I’m using Edge in this example, note that the Chrome extension will work with other Chromium-based browsers. If you see a popup box, it’s likely because you're not logged into Edge; you can just close it.
Next, click on the extension button and open the wallet extension. The first time you do this, you'll see a text explaining what the extension does, which is reassuring. Click the “Accept” button. Now, you have two options: import your seed phrase if you already have a wallet or create a new wallet, which is what we’ll do. You’ll see your wallet’s address; remembering it is impressive, but you also need to copy your seed phrase. Save this seed phrase securely—avoid storing it in a text file on your desktop or under your keyboard. Once you’ve done that, click “Next Step.”
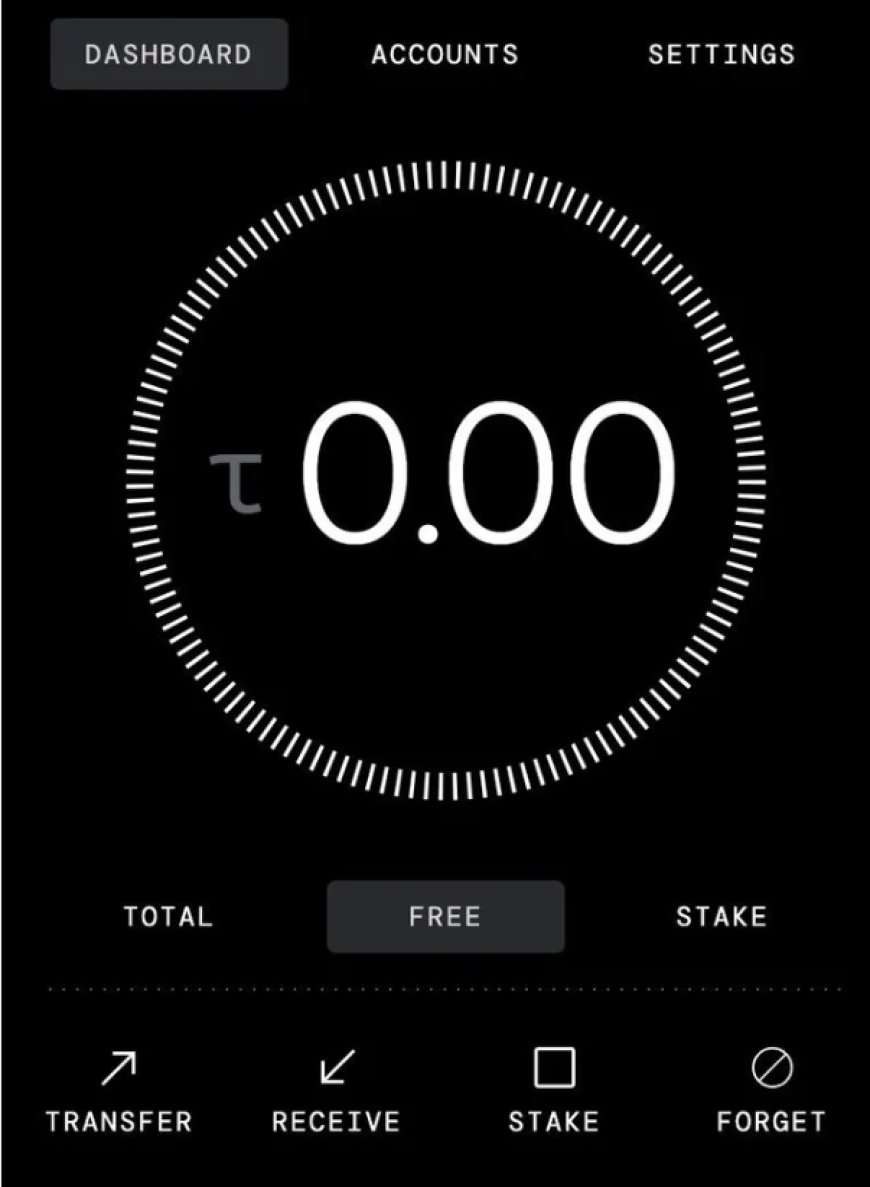
Enter the account name and password you want, and then your wallet is created. The next step would typically be to open an exchange, buy tokens, and transfer them to your wallet. However, I’ll skip this since many of you are already familiar with using exchanges. Let’s move directly to staking and unstaking.
Open your BitTensor wallet, and you should see that you’ve already transferred tokens to it. To stake, you need to find good validators. Visit the validators section on the BitTensor website. You can scroll through the list to find various validators, click on them to get more information, and then copy the address. Back in your wallet extension, click the "Stake" button, paste the address, and all relevant stats will load automatically. Confirm it’s correct, click “Continue,” enter the amount you want to stake (e.g., half a token), and then click “Stake.” Enter your wallet password, confirm, and you’re done!
To check your staking status, copy your wallet address and search for it on the relevant stats page to see where your tokens are delegated and how much you have.
For unstaking, ensure you still have the correct address in your clipboard. Open your BitTensor wallet extension again, click the “Stake” button, paste the address, and if needed, select the delegator to view more information. Click “Continue,” see how much you’ve staked (e.g., two tokens), click “Unstake,” enter your password, and confirm.

Finally, to be extra cautious, you can copy your key again and check it on the stats page to ensure the unstaking process was successful.
That wraps up our tutorial for today. We’ve covered installing the Chrome extension, creating a wallet, staking, and unstaking. Thanks for following along, and remember to stay brilliant and beautiful!


